Mac Update Stuck or Won't Install? Fix macOS Installation Failures
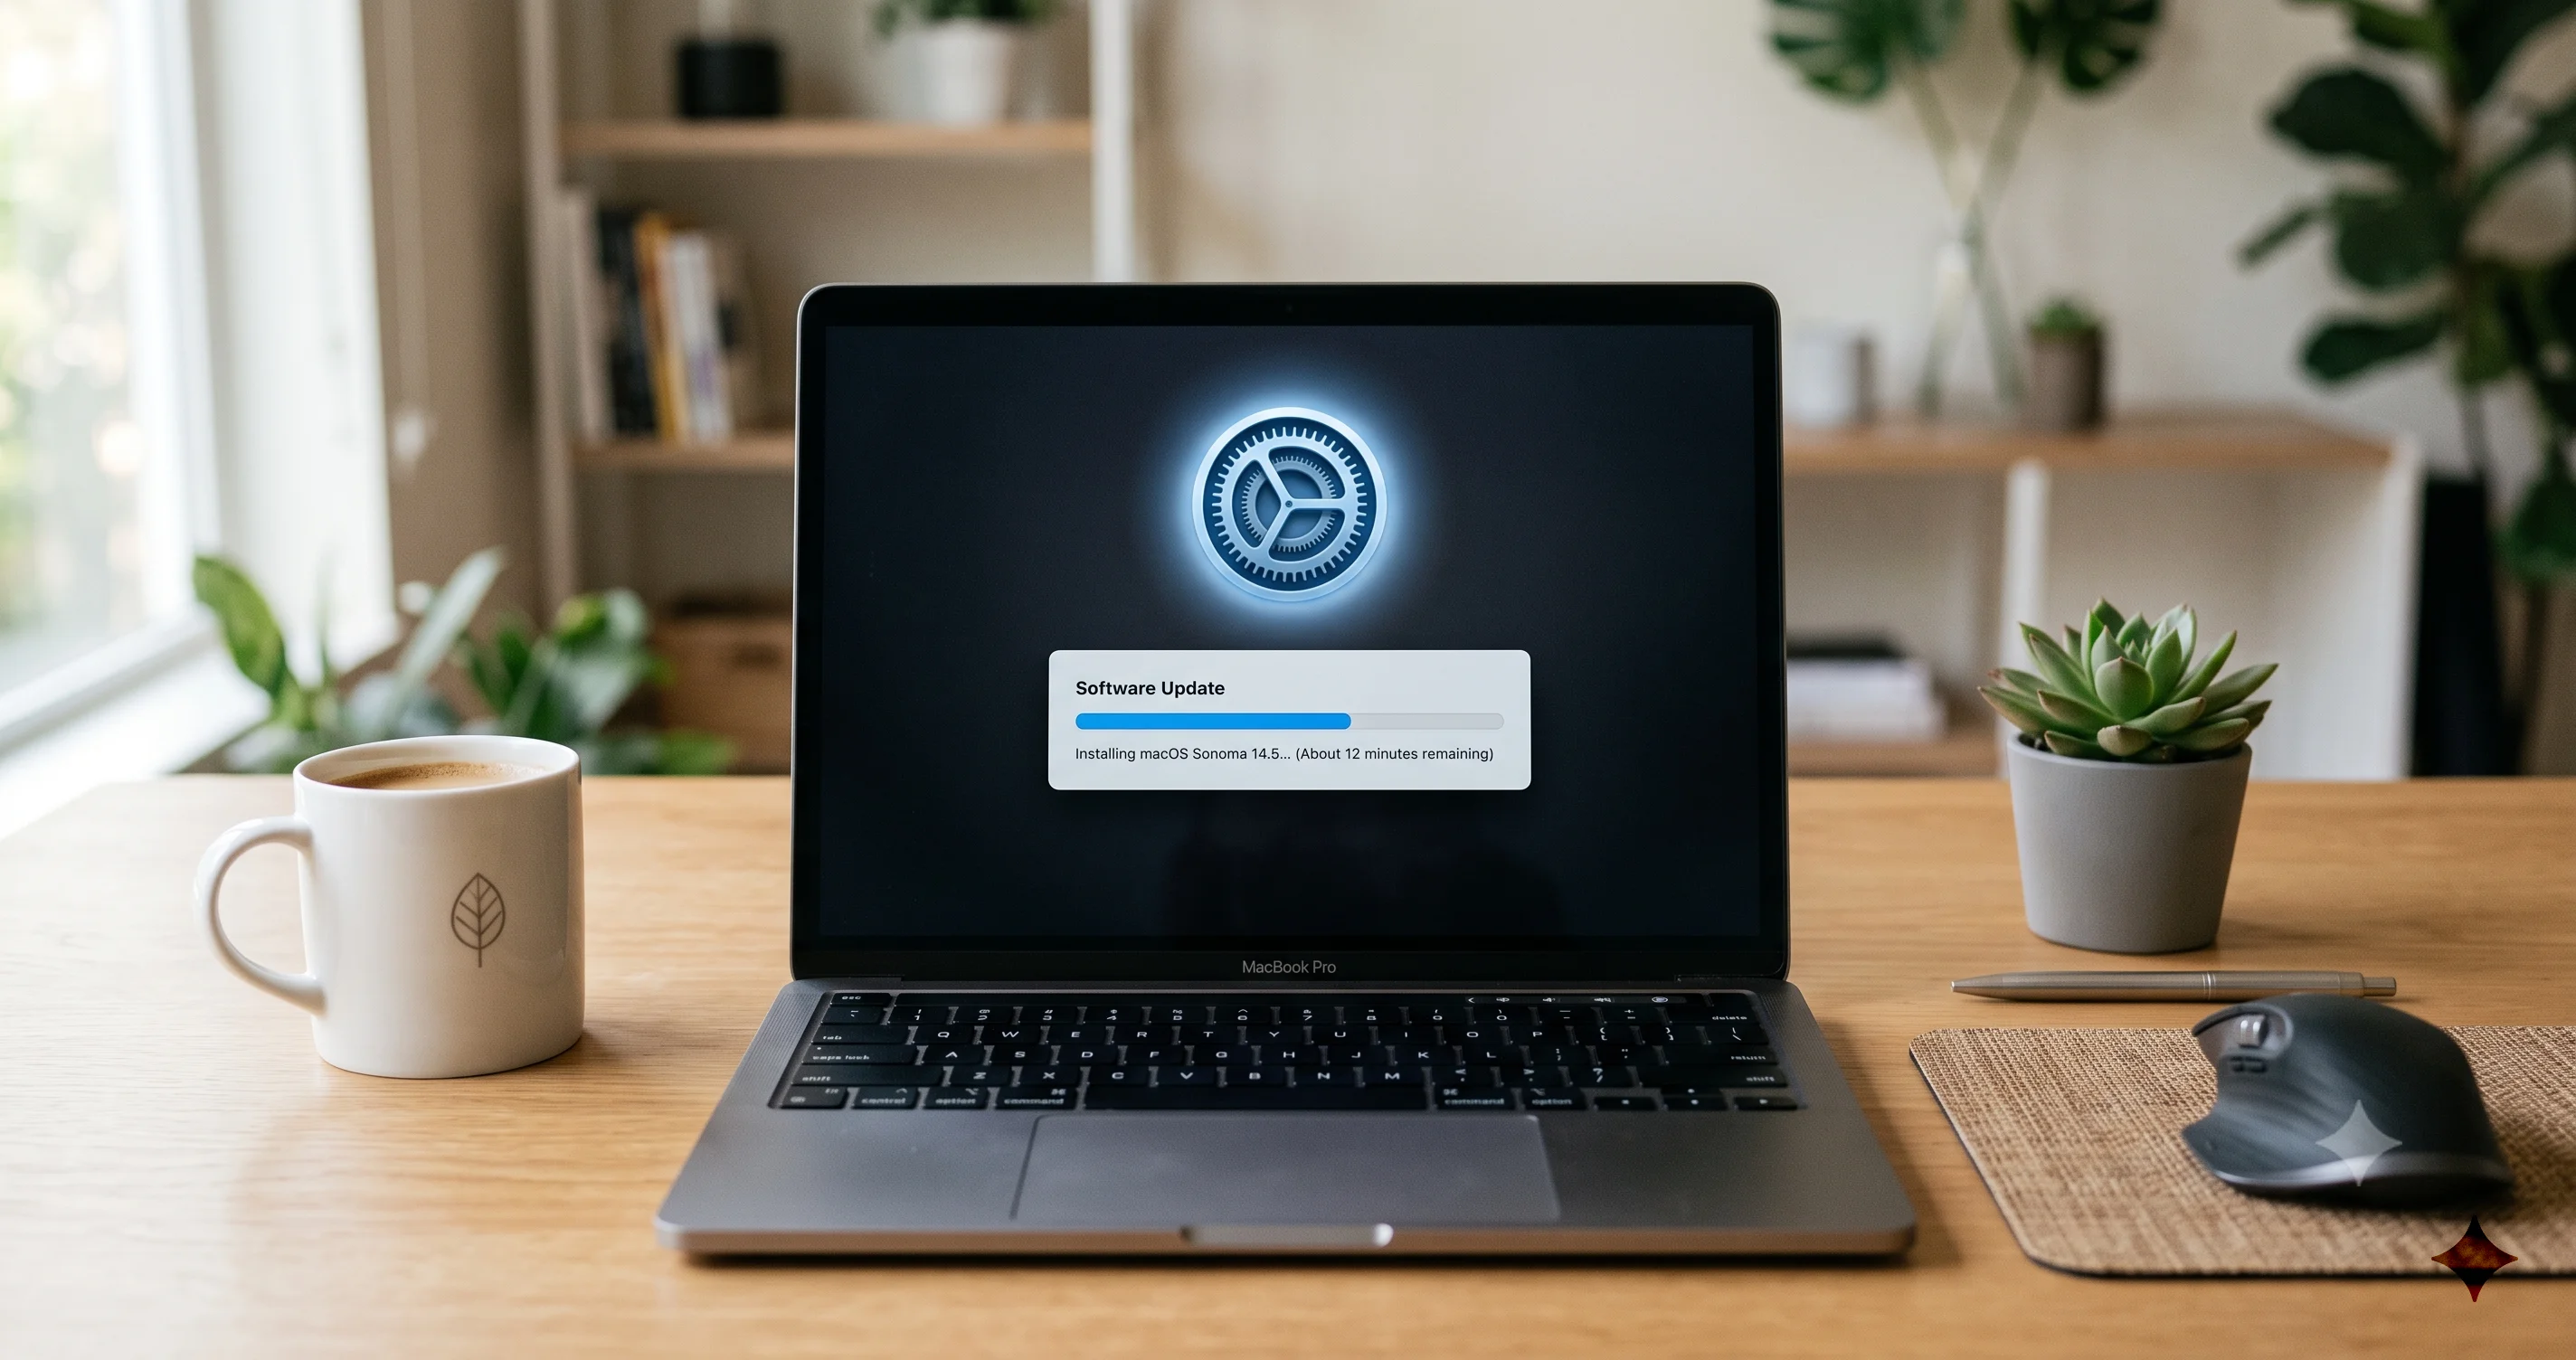
Is your macOS update stuck downloading, showing installation failed, or not enough space? This calm, step-by-step fix guide gets your Mac updating again.
You went to install a routine macOS update, and now your Mac is frozen on a spinning progress bar, an Apple logo that hasn't moved in twenty minutes, or a blunt error message telling you the installation failed. It is genuinely one of the most stressful moments a Mac owner faces, because it feels like the machine is caught mid-surgery. Take a breath. In the overwhelming majority of cases, nothing is broken, your files are safe, and you can get the update to finish with a predictable sequence of steps.
This guide is timely for a reason. Apple shipped macOS Tahoe 26.5.2 on June 29, 2026, and the macOS 27 "Golden Gate" public beta is imminent, which means Apple's update servers are under heavy load and millions of people are installing at once. When everyone updates on the same day, the failure rate spikes for reasons that have nothing to do with your specific Mac. We will walk through every real failure mode, from a download stuck at 0% to a "could not be installed" error to the dreaded "not enough free space," and give you an ordered escalation ladder that starts with the safest fixes and only moves to drastic measures when nothing else works.
Key Takeaways
- Most stuck updates are not broken installs. A frozen progress bar, "Gathering information…" that hangs, or "less than a minute remaining" that never finishes usually resolves with patience, a network check, and a restart, not a reinstall.
- Disk space is the single most common cause of failure. A macOS update can need roughly 20-45GB of temporary free space beyond the download size, because the installer expands, creates a snapshot, and stages files. System Settings often understates what you actually have available.
- Apple Silicon and Intel Macs recover differently. Apple Silicon Macs have no NVRAM or SMC reset to perform; you reach Recovery by holding the power button. Intel Macs use Command-R and can reset NVRAM and the SMC. Applying the wrong instructions wastes time.
- Reinstalling macOS from Recovery is non-destructive. It keeps your files and apps. Erasing is a separate, last-resort action that requires a backup first.
- On release day, sometimes the correct fix is to wait. If Apple's servers are hammered, retrying in a few hours often succeeds with zero troubleshooting on your end.
Before You Touch Anything: Diagnose What Kind of Stuck You Have
Not every "stuck" update is the same problem, and the fix depends entirely on where in the process your Mac froze. Spend two minutes identifying which of these you are looking at, because it changes everything that follows.
The download stalled
Symptoms in this bucket include a download stuck at 0%, a progress bar that crawled to some percentage and stopped, "Gathering information…" that spins indefinitely, or Software Update simply saying "Checking for updates…" forever. This is almost always a network or server issue, not a problem with your Mac. The update files never fully arrived, so there is nothing to install yet. The good news: this is the safest category, because your current system is untouched.
The installer failed with an error
Here you get an explicit message: "An error occurred installing macOS," "The installer could not be verified," "installation failed," or "macOS could not be installed on your computer." These errors appear after the download completes, when macOS tries to actually apply the update. Causes range from a corrupted download, to insufficient disk space, to a certificate verification problem (often itself caused by server load or an incorrect system clock). Your existing system is typically still bootable.
It's stuck at boot after the update started
This is the scariest looking one: an Apple logo with a progress bar frozen at, say, 30%, or a black screen, after the Mac restarted to apply the update. The critical thing to know is that macOS updates can legitimately take 30 to 90 minutes during this phase, and the progress bar frequently sits at one spot for a long time while the Mac does heavy work in the background. Do not force a shutdown at the first sign of a stall. We will cover exactly when it is safe to intervene.
The "not enough space" wall
You may get "There is not enough free space on the disk to install macOS," or the update might fail silently and only reveal the space problem when you dig into the logs. This is extremely common and extremely fixable, and it deserves its own section because the numbers involved surprise most people.
Knowing your category, let's start climbing the ladder.
Step 1: Patience, Power, and Apple's Servers
The first rung is the one most people skip, and it resolves a shocking percentage of cases, especially on a busy release day.
Give it real time before intervening
If your Mac is stuck at boot on the Apple logo with a progress bar, walk away for at least 30 to 60 minutes before doing anything. The progress bar is not a reliable indicator of activity. During a major update, macOS rewrites the signed system volume, rebuilds caches, and processes files, and the bar can appear frozen while the disk is working hard. Prematurely forcing a shutdown here is the single most common way people turn a slow-but-fine update into a genuinely corrupted one. Listen for fan or drive activity, and if the Mac is even slightly warm, it is probably still working.
Plug into power and stay on power
A laptop must be connected to AC power for a macOS installation. Apple will often refuse to begin, or will pause an in-progress install, if the battery is low. Connect the charger, confirm you see the charging indicator, and leave it plugged in for the entire process. This alone resolves plenty of "stuck" installs that were actually just paused waiting for power.
Check Apple's System Status page
Before you assume anything is wrong on your end, open Apple's System Status page on your phone or another device. Look specifically for "macOS Software Update." On a release day like the Tahoe 26.5.2 rollout, or when the macOS 27 public beta drops, these servers get overwhelmed, and Apple sometimes throttles or briefly outages the update service. If the status dot is anything other than green, the correct fix is patience. Close Software Update, wait a few hours, and try again. There is no troubleshooting you can do that beats the server catching up.
Verify your network
A stuck download frequently comes down to Wi-Fi. Try these quick checks: confirm other devices can reach the internet, toggle Wi-Fi off and on, and if possible move closer to the router or connect via Ethernet (or a USB-C Ethernet adapter). Multi-gigabyte updates are unforgiving of flaky connections. A VPN or a corporate or school network with content filtering can also block Apple's software update domains, so disconnect from the VPN and test on a plain home network if you can.
If patience and a clean network don't do it, the next most common culprit is space.
Step 2: Free Up Enough Space (The Real Numbers)
This is the section that fixes the most "mysterious" failures, so read it carefully even if you think you have plenty of room.
Why "I have 15GB free" is not enough
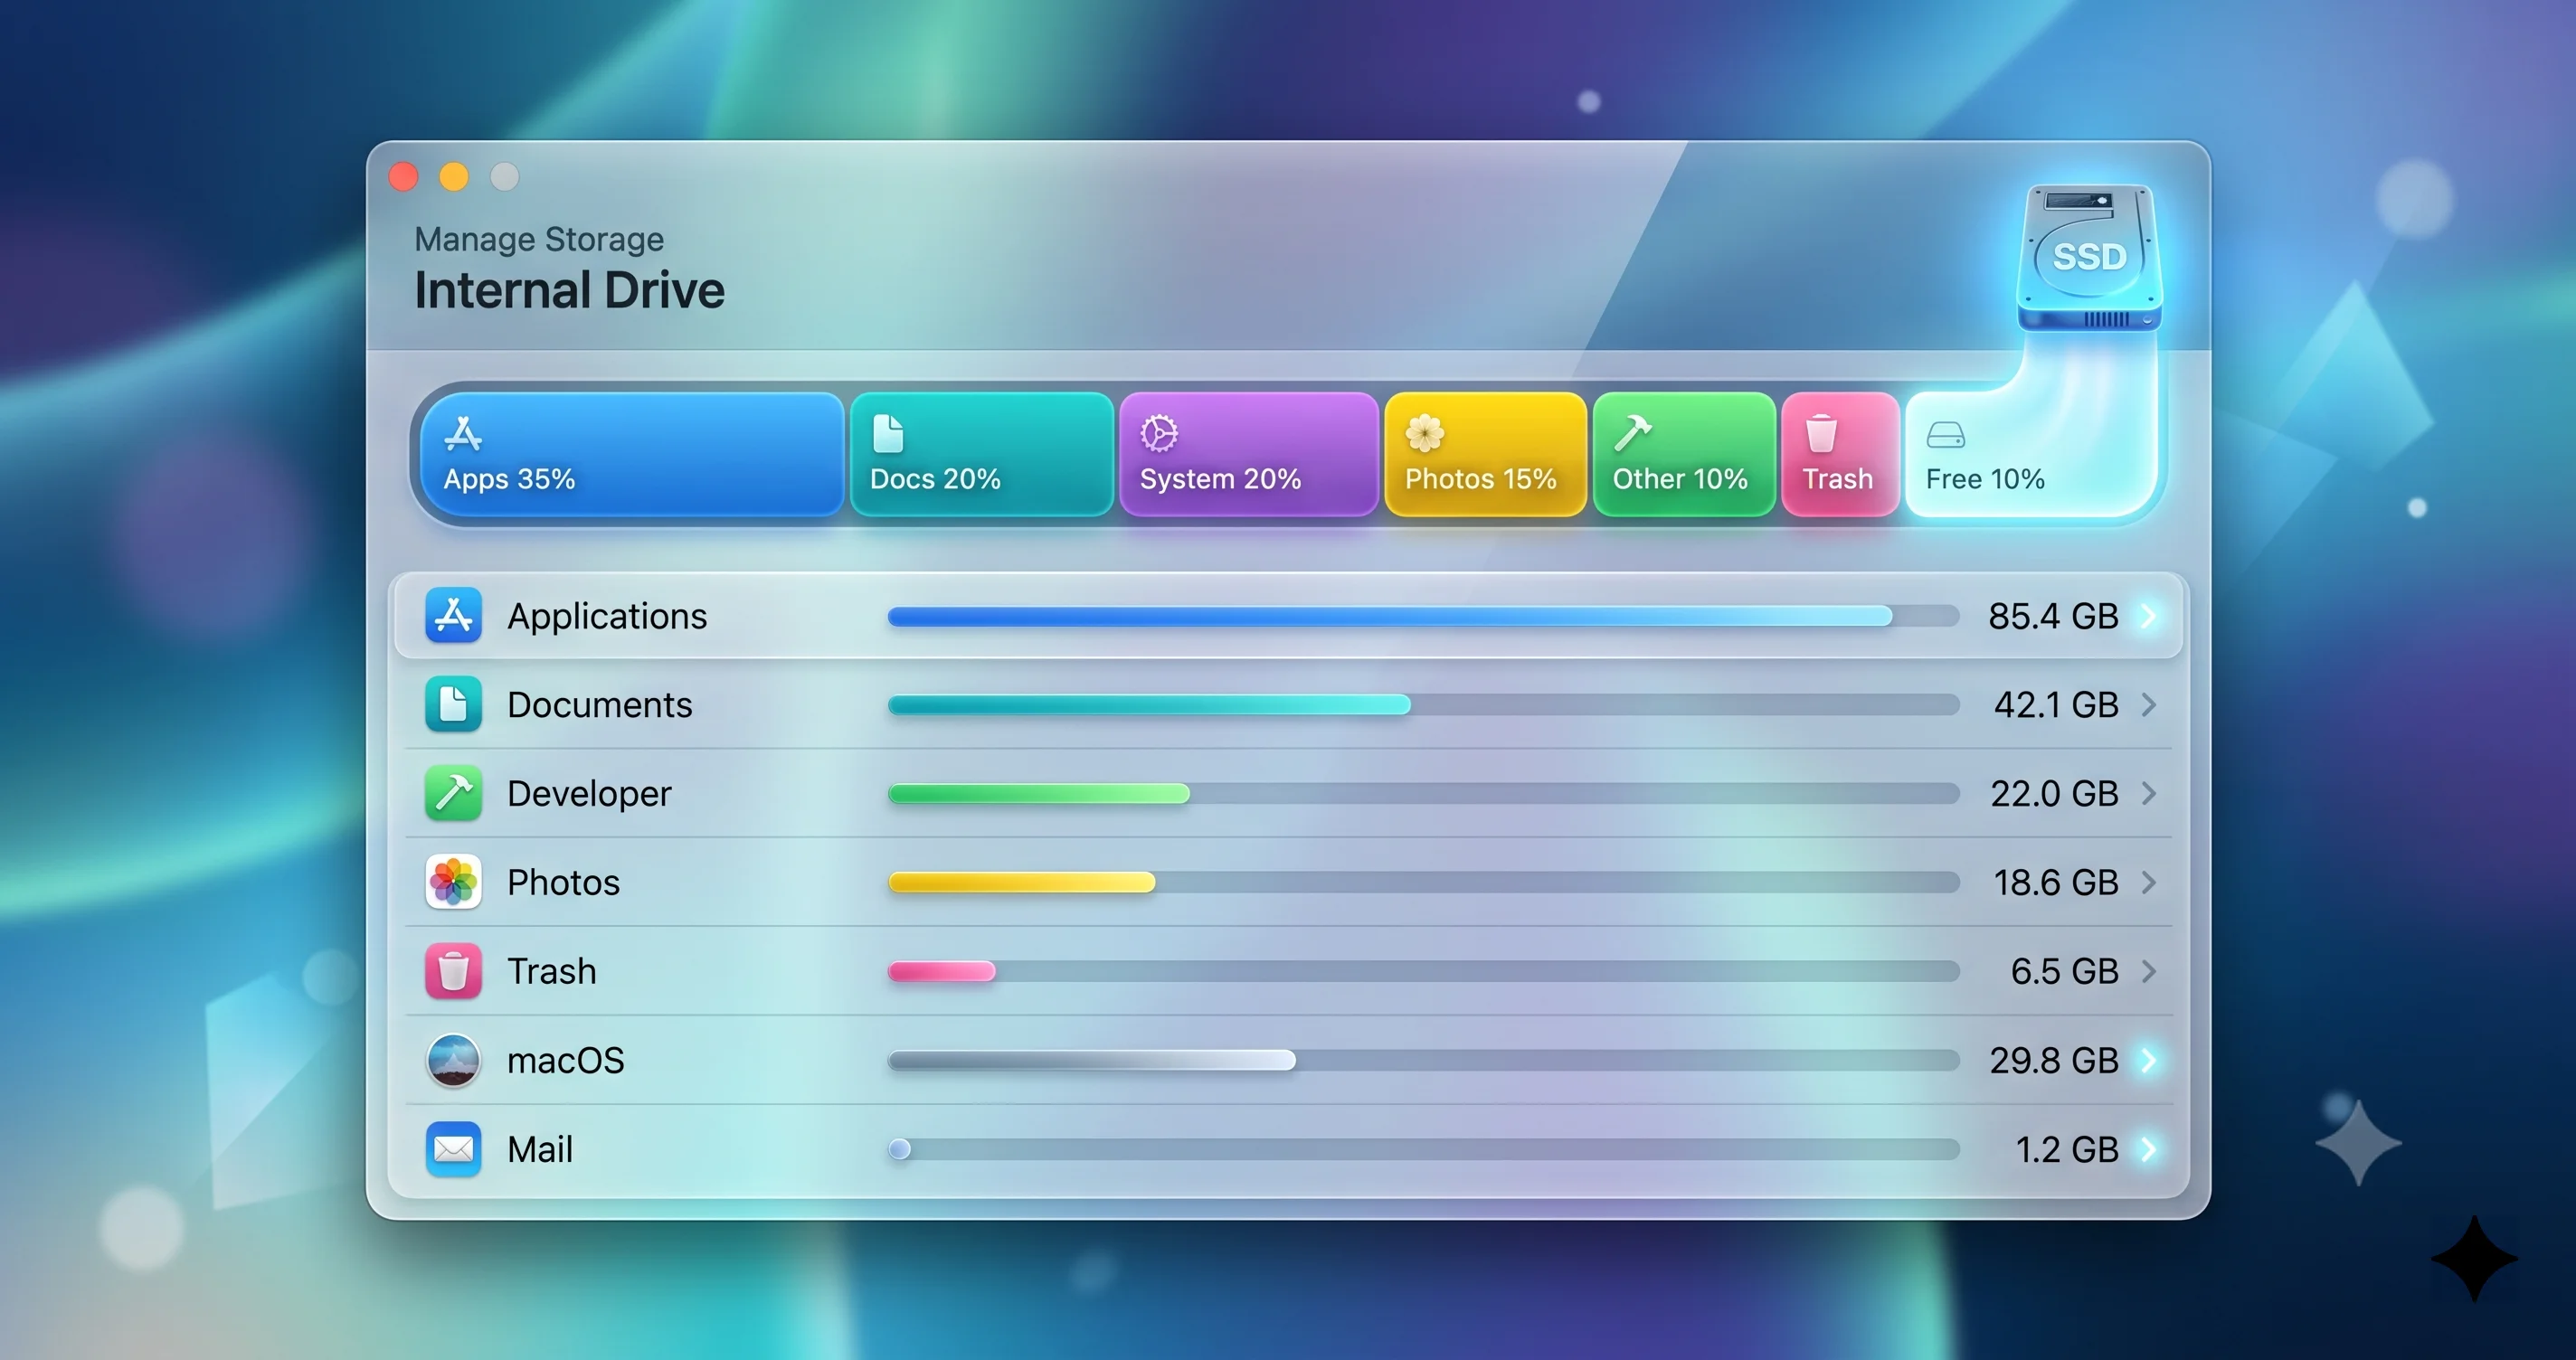
Here is the part that trips everyone up. A macOS update's download size is not its space requirement. To install, macOS must download the update, expand it, create an APFS snapshot of your current system for rollback safety, and stage the new signed system volume, all before it swaps things over. Depending on the update, this can demand roughly 20GB to 45GB of temporary free space beyond the size of the update itself. A "6GB update" can genuinely fail on a disk with 20GB free.
Worse, the Storage screen in System Settings can actively mislead you. It may show space as "available" that is actually consumed by purgeable caches and local Time Machine snapshots, and the figure it reports can lag reality. If you have been fighting a bloated System Data category that refuses to shrink, that is directly relevant here, and our dedicated guide on why macOS System Data gets huge and won't shrink walks through the deeper causes. For now, the goal is simple: get a large, real chunk of free space so the installer has room to breathe. Aim for at least 40GB free before retrying a major update.
There's a subtle trap worth naming: macOS reports "purgeable" space as if it were free, and in theory the system reclaims it automatically when an app needs room. In practice, the update installer often checks available space before that reclamation kicks in, sees a number below its threshold, and refuses to start — even though the disk could technically make room. That's why the fix isn't to trust the optimistic figure and retry endlessly; it's to force the space to become genuinely free right now, by emptying the Trash, purging snapshots, and removing large files yourself rather than waiting for macOS to do it on its own schedule.
Fast wins to reclaim space
Work through these in order; the early ones are the highest yield for the least effort.
- Empty the Trash. Deleted files still occupy the disk until the Trash is emptied. Right-click the Trash icon and choose Empty Trash. Also empty the per-app trash in Photos and Mail.
- Remove old iOS/iPadOS device backups. If you ever backed up an iPhone or iPad to this Mac, those backups can each be 5-20GB and are easy to forget. They live in
~/Library/Application Support/MobileSync/Backup/. Remove ones you no longer need through Finder, or via the device management screen. - Delete old downloads and installers. Your Downloads folder and old
.dmg/Install macOS ….appfiles are frequent space hogs. A leftover full installer can itself be 12GB+. - Offload large files to iCloud or an external drive. Move big video projects, photo libraries, or archives off the internal disk temporarily. You can move them back after the update.
- Clear caches. Application and system caches accumulate over time. You can safely remove the contents of
~/Library/Caches/(not the folder itself). macOS regenerates what it needs.
Purge Time Machine local snapshots
This is the hidden giant. Even if you think of Time Machine as backing up to an external drive, macOS also keeps local snapshots on your internal disk, and these can silently consume tens of gigabytes that the Storage screen reports as "available" or "purgeable." When an installer demands space, these snapshots frequently stand in the way. You can force macOS to thin them out with a single command in Terminal (open Terminal from Applications → Utilities):
# List existing local Time Machine snapshots
tmutil listlocalsnapshots /

# Aggressively thin local snapshots, freeing up to ~1TB, urgency level 4
tmutil thinlocalsnapshots / 999999999999 4
The three arguments are the volume (/), the amount of space to attempt to reclaim in bytes (a deliberately huge number so it thins everything it can), and an urgency level from 1 to 4, where 4 is the most aggressive. This is a safe, Apple-sanctioned command; it only removes local convenience snapshots, not your actual Time Machine backups on the external drive. If your Time Machine behavior has been erratic in general, our Time Machine troubleshooting guide covers the broader picture.
Confirm what's actually taking space
If you want to see where your gigabytes went before deciding what to cut, Terminal gives you honest numbers. du measures disk usage directly, bypassing the sometimes-optimistic Storage UI:
# Show total size of your home folder's top-level directories, sorted
du -sh ~/* 2>/dev/null | sort -h

# Check overall free space on the boot volume
diskutil info / | grep -i "free space"

# A cleaner view of container free space on APFS
diskutil apfs list
Once you genuinely have 40GB+ free, retry the update from System Settings → General → Software Update. If it still fails, the download itself may be corrupt.
Step 3: Delete the Partial Installer and Re-Download
When a download stalls or an install fails with a verification error, the downloaded files are often corrupt or incomplete. Forcing a clean re-download resolves a large share of "installer could not be verified" and "an error occurred installing macOS" messages.
Cancel and restart from Software Update
First, the gentle approach. In System Settings → General → Software Update, if there is a way to cancel or pause the current download, do so, then wait a moment and start it again. Restart the Mac first if the pane is unresponsive. A fresh attempt on a fresh boot clears a surprising number of transient states.
Remove the stuck download via Terminal
If the download is truly wedged, you can trigger a clean fetch from Terminal, which bypasses the graphical Software Update entirely and often behaves better under server load. These are the standard softwareupdate commands:
# List all available updates for your Mac
softwareupdate -l

# Download and install all recommended updates
sudo softwareupdate -i -a

# Download and install a specific update by its exact label
sudo softwareupdate -i "macOS Tahoe 26.5.2"
Running from Terminal gives you clearer error text than the graphical installer, which helps enormously if it fails again. Watch the output for explicit mentions of space or verification.
Download the full installer instead of the delta
Sometimes the small "delta" update that Software Update offers is the thing that keeps failing, while the full installer works cleanly. You can fetch the complete standalone installer app, which is more robust because it does not depend on your current system state as heavily:
# See which full installers Apple currently offers
softwareupdate --list-full-installers

# Fetch a specific full installer (creates Install macOS ….app in /Applications)
softwareupdate --fetch-full-installer --full-installer-version 26.5.2
You can also get the full installer from the App Store by searching for the macOS version by name. Once the Install macOS Tahoe.app is in your Applications folder, run it and follow the prompts. Because the full installer is a complete copy of the OS, it sidesteps many delta-update corruption issues, though it does need that large chunk of free space we discussed in Step 2.
Step 4: Restart and Retry (With the Right Reset for Your Mac)
If a clean re-download hasn't worked, a proper restart, and on Intel Macs a firmware reset, clears the stuck state. This is where the Apple Silicon versus Intel distinction matters, and applying the wrong steps here wastes real time.
Every Mac: a full restart
If your Mac is still responsive, choose Apple menu → Restart, let it come all the way back up, and try the update again. If the screen is frozen, force a restart by holding the power button until the Mac shuts off, wait about 30 seconds, then power it back on. A cold boot flushes memory state that can trip up an installer.
Apple Silicon Macs: there is no NVRAM or SMC reset
If you have an Apple Silicon Mac (M1, M2, M3, M4, and their variants, which is any Mac from late 2020 onward and all current models in 2026), you do not have an NVRAM reset shortcut or an SMC to reset. Apple Silicon manages this differently, and the old key combinations simply do nothing. Do not waste time on them, and be wary of any guide that tells you otherwise. The equivalent "reset" is simply a full shutdown for 30 seconds. To reach recovery options, you hold the power button until you see "Loading startup options," which we cover in Step 6. That's it. This is the correct, accurate procedure for your machine.
Intel Macs: NVRAM and SMC are still relevant
If you have an older Intel-based Mac, resetting NVRAM (which stores some system settings) can occasionally clear an update hiccup. Shut down, then power on and immediately hold Option-Command-P-R for about 20 seconds, releasing after you hear the second startup chime (or see the logo appear and disappear a second time on newer Intel models). Resetting the SMC (System Management Controller) addresses power and hardware-level oddities; the exact key combination varies by whether the Intel Mac is a notebook with the T2 chip, an older notebook, or a desktop, so check Apple's model-specific instructions. Again, none of this applies to Apple Silicon — only perform these steps if your Mac has an Intel processor.
After the restart or reset, attempt the update once more.
Step 5: Install in Safe Mode
If normal-mode installs keep failing, Safe Mode strips the system down to essentials, disabling third-party startup items and login extensions that can interfere with an update, and it forces certain caches to rebuild.
Booting into Safe Mode
Apple Silicon: Shut down. Press and hold the power button until "Loading startup options" appears. Select your startup disk, then hold Shift and click "Continue in Safe Mode." Release Shift.
Intel: Shut down. Power on and immediately hold the Shift key. Release it when you see the login window. You may be asked to log in twice.
In Safe Mode you'll see "Safe Boot" in the menu bar. Once booted, open System Settings → General → Software Update and try the update again. Third-party antivirus tools, VPN kernel extensions, and disk utilities are notorious for interfering with system updates, and Safe Mode neutralizes all of them at once. After the update succeeds, restart normally to leave Safe Mode.
Why Safe Mode works when normal mode doesn't
It helps to understand what's actually happening. When macOS boots normally, it loads a stack of third-party components: menu bar utilities, cloud storage sync agents, security software that inserts itself deep into the system, and background daemons that launch at startup. Any one of these can hold a file open, lock a resource the installer needs, or object to the system modifications an update performs. Safe Mode boots with only Apple's own essential components, and it additionally clears certain system caches and runs a directory check on the startup disk during boot. That combination — no third-party interference plus freshly rebuilt caches — resolves a meaningful slice of installs that fail every single time in normal mode. If your update has been failing consistently and you run any kind of endpoint security, backup agent, or disk-cleaning tool, Safe Mode should be near the top of your list to try.
Step 6: When It's Stuck at Boot — Recovery to the Rescue
This is the situation people fear most, so let's handle it carefully and calmly. Your Mac restarted to apply the update and is now stuck on the Apple logo, a frozen progress bar, or a black screen, and it has been well over an hour with no change.
First, confirm it's truly stuck
Before intervening, give it the full 60-90 minutes we discussed, especially for a major update on an older or slower drive. If the progress bar has genuinely not moved in over an hour and the Mac shows no signs of activity, it is time to act. Force a restart by holding the power button for about 10 seconds until the Mac powers off completely.
Boot into macOS Recovery
Apple Silicon: With the Mac fully off, press and hold the power button until you see "Loading startup options." Click Options, then Continue. You'll land in Recovery.
Intel: Turn on the Mac and immediately hold Command-R until you see the Apple logo or a spinning globe, then release.
You'll reach the macOS Recovery utilities window with options including Disk Utility, Reinstall macOS, Safari, and Terminal.
Run First Aid in Disk Utility
Choose Disk Utility and click Continue. In the sidebar, select your main volume (usually "Macintosh HD"). If you see a "Macintosh HD - Data" volume too, run First Aid on both, and on the container. Click the First Aid button and let it check and repair the file system. A failed update can leave the disk in an inconsistent state, and First Aid frequently fixes exactly the kind of corruption that blocks an install from completing. When it finishes, quit Disk Utility.
Reinstall macOS — this keeps your data
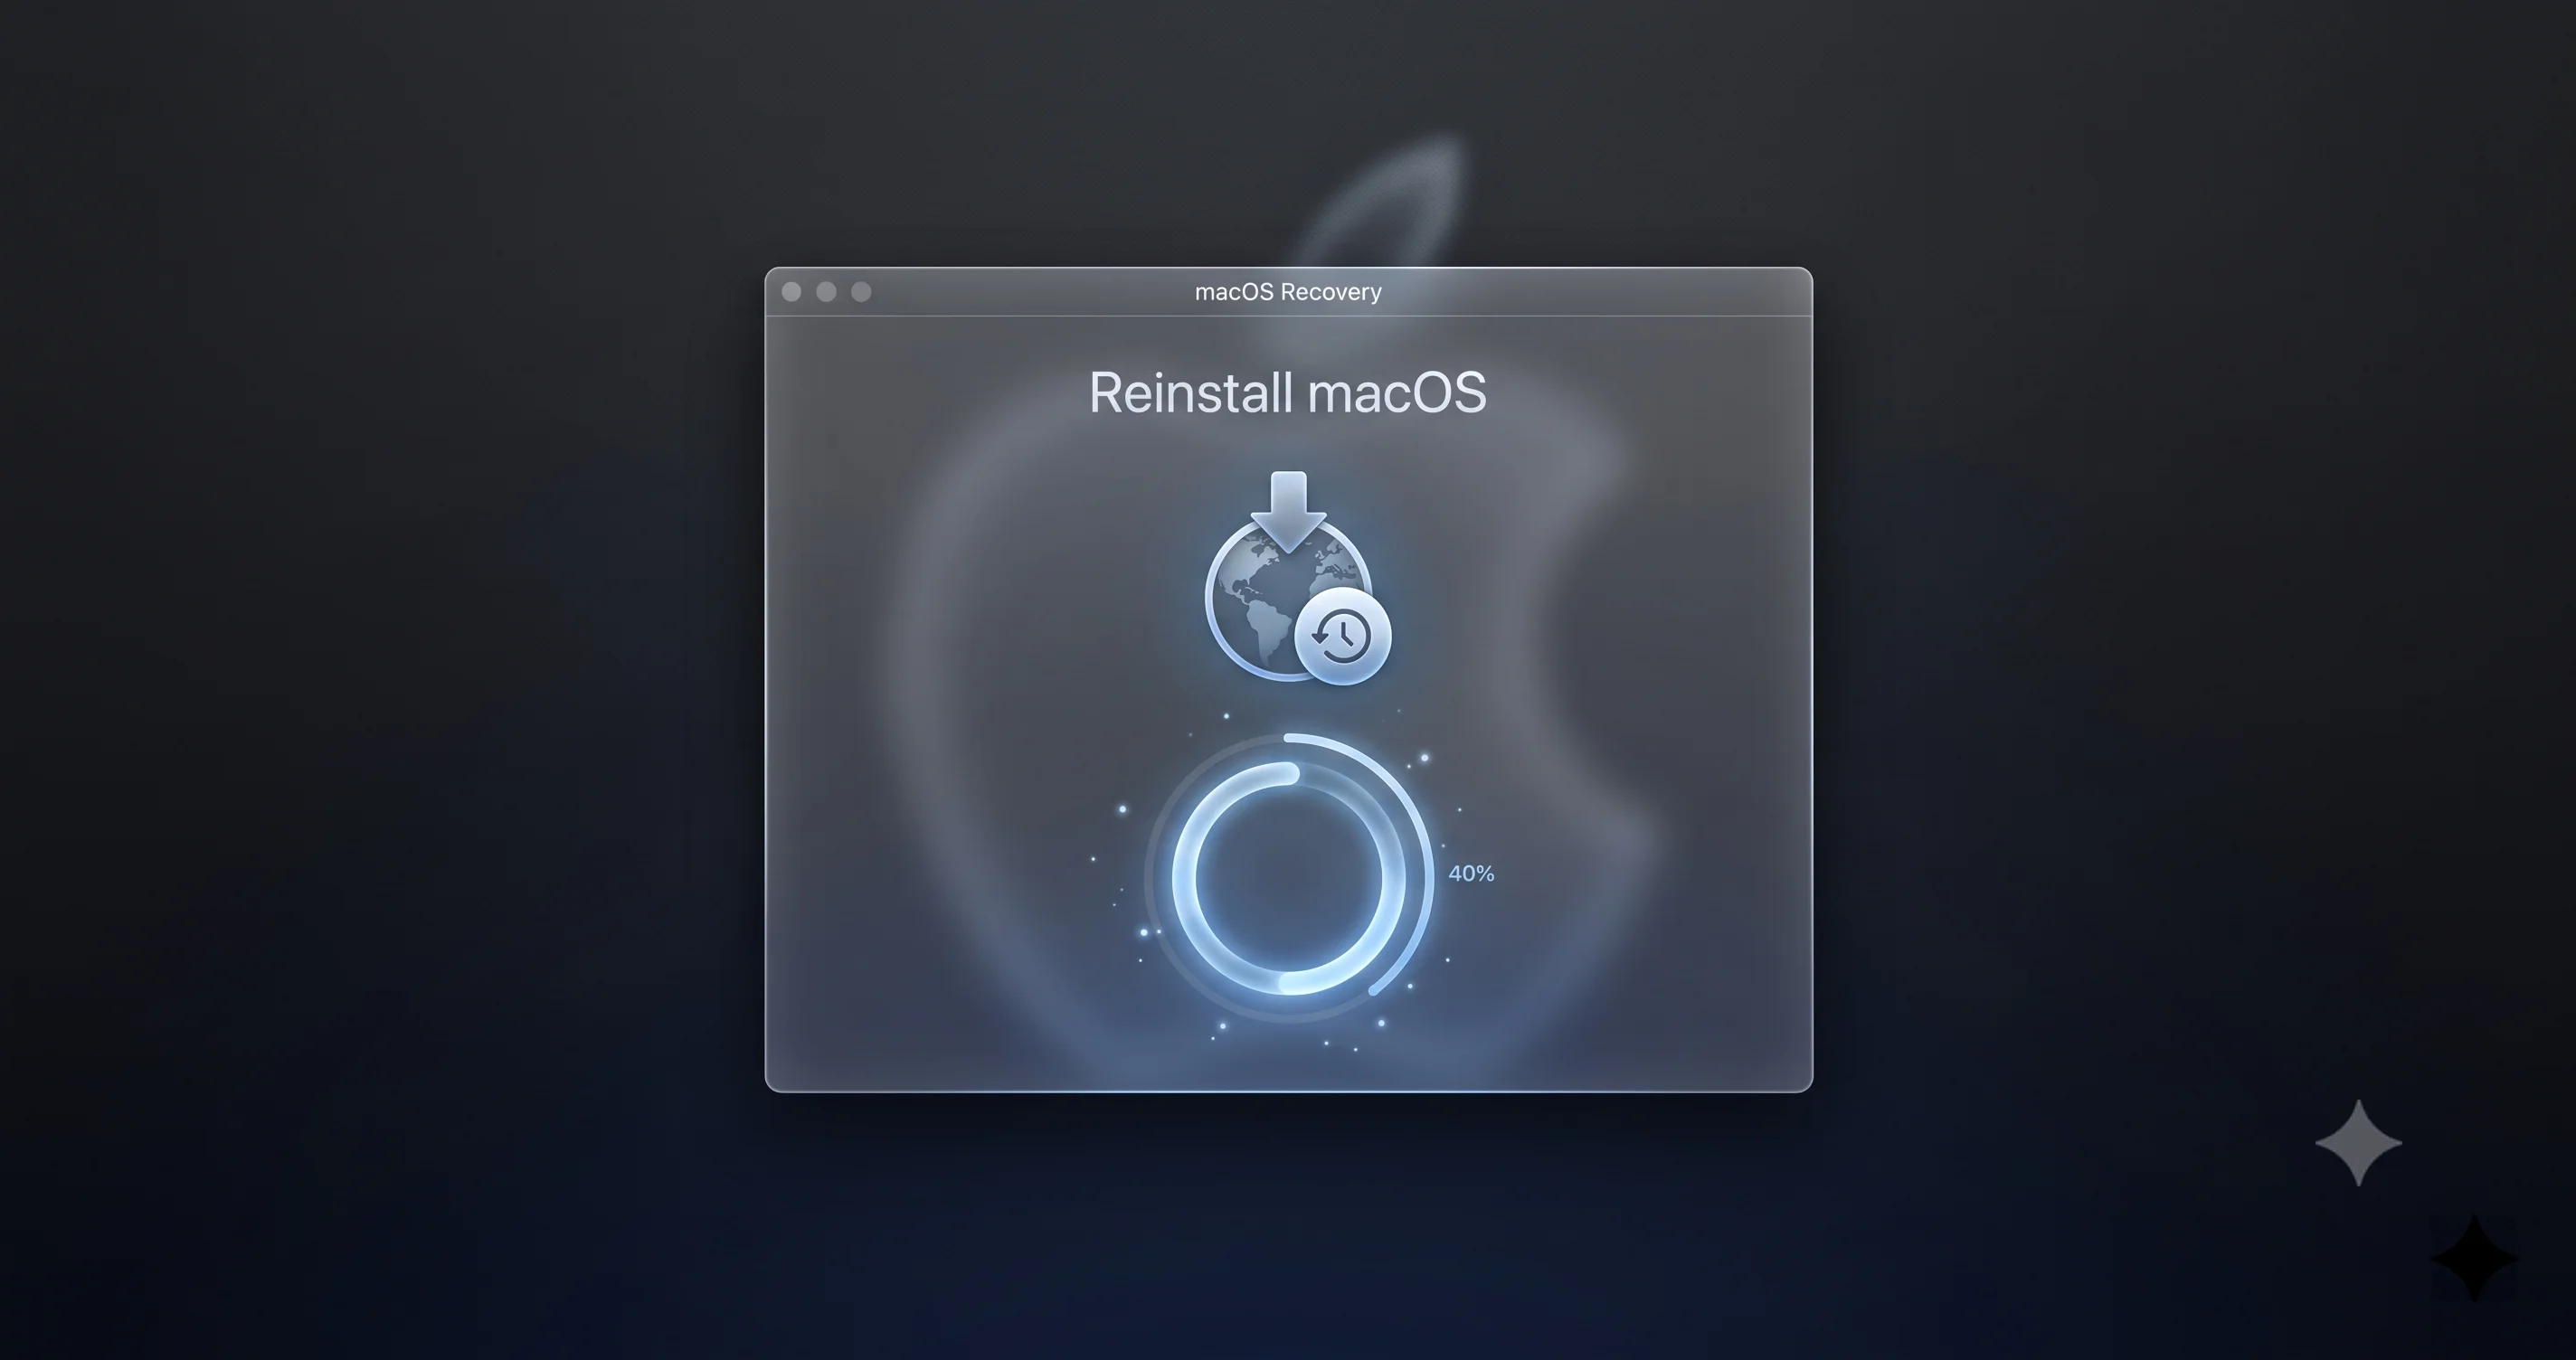
From the Recovery menu, choose Reinstall macOS and follow the prompts, selecting your existing startup disk when asked. Here is the reassuring part that many people don't realize: reinstalling macOS from Recovery is non-destructive. It reinstalls the operating system files over the top of your current installation without touching your documents, photos, apps, or settings. It's essentially a clean re-application of the OS that repairs a botched update. This step resolves the large majority of update failures that leave a Mac unbootable. It does require an internet connection, since Recovery downloads the OS from Apple, so connect to Wi-Fi from the menu bar when prompted and be patient, as this download is large. If your Mac won't even reach Recovery, our broader Mac startup problems troubleshooting guide has additional recovery paths.
Step 7: Last Resorts — Erase, Reinstall, or Revive
You should rarely need this section. If you've reached it, the earlier steps failed, and we're now weighing more drastic options. Do not proceed without a current backup. If you don't have one, and the Mac is still bootable at all, back up first, and consider our overview of the best Mac backup strategy for 2026 so you're never in this position again.
Erase and reinstall
If a non-destructive reinstall still won't produce a working system, erasing the disk and installing a clean copy of macOS is the nuclear option. In Recovery, open Disk Utility, select your disk, and choose Erase (format as APFS). Then quit back to the menu and choose Reinstall macOS. This wipes everything, which is exactly why the backup is non-negotiable. Afterward you restore your files from Time Machine or your backup, or set up as new and pull data from iCloud. It is drastic, but it reliably produces a healthy system.
DFU revive for a bricked Apple Silicon Mac
In the rare case that an Apple Silicon Mac becomes completely unresponsive, won't power on into anything, and even Recovery is unreachable, the firmware itself may need to be revived. This is done with a second Mac running Apple Configurator (or the Finder-based revive on recent macOS), connecting the two Macs with a supported USB-C cable and putting the dead Mac into DFU mode. A "revive" reinstalls the firmware and recoveryOS without erasing your data, and it's the correct first attempt before any erase. This is an advanced procedure, and at this point, if you're not comfortable, it's entirely reasonable to book a Genius Bar appointment or contact Apple Support. Hardware that genuinely fails during an update is uncommon, but it does happen, and a warranty or AppleCare claim is the right move if a revive doesn't work.
Updating vs. Installing a Beta: A Word of Caution
With the macOS 27 "Golden Gate" public beta imminent, it's worth being clear about the difference between two very different actions, because they get conflated and cause avoidable stuck states.
Updating means staying on the stable 26.x track, moving from, say, Tahoe 26.5.1 to 26.5.2. This is what most readers of this guide are doing, and it's low risk. If you want the full context on the current stable release, our complete macOS Tahoe 26.5 update guide covers what changed and the security fixes included.
Installing a beta means enrolling in Apple's beta program and jumping to pre-release software like macOS 27. Betas are, by definition, unfinished, and stuck or failed installs are far more common on them. If you're considering it, read our honest assessment of whether you should install the macOS 27 Golden Gate developer beta and its known issues and the broader macOS 27 Golden Gate announcement and compatibility details before enrolling.
Critically: if you are currently on a beta and stuck, the fix is often to get back to stable rather than to keep fighting the beta installer. Our step-by-step guide on how to downgrade from macOS 27 beta back to Tahoe without losing data walks through exactly that, and it's the right path if a beta update has left your Mac unstable.
Troubleshooting Common Issues
Here are the specific scenarios readers hit most often, with targeted fixes.
"The installer could not be verified" keeps appearing
This verification error usually means one of three things: the download is corrupt, your Mac's clock is wrong (which breaks certificate validation), or Apple's servers are struggling. First, confirm your date and time are set to update automatically in System Settings → General → Date & Time — a clock that's off by days will fail every verification. Then delete the partial download and re-fetch (Step 3), ideally the full installer. If it persists on release day, it's almost certainly server-side; wait a few hours and retry.
Progress bar stuck at boot, exactly at the same percentage for hours
If you've given it a genuine 90 minutes with no movement and no drive activity, force restart (hold power ~10 seconds). On reboot, macOS often resumes and completes the update on its own. If it lands you back at the stuck screen, boot to Recovery (Step 6), run First Aid, then Reinstall macOS. That non-destructive reinstall almost always completes what the interrupted update started, and your files stay intact.
"Not enough space" even though System Settings shows free space
Trust diskutil, not the Storage UI. The likely culprits are Time Machine local snapshots and purgeable caches that the UI counts as "available." Run the tmutil thinlocalsnapshots / 999999999999 4 command from Step 2, empty the Trash, remove old device backups, and re-check with diskutil info / | grep -i "free space". Get to a real 40GB+ free, then retry. If System Data is the bloated category, the System Data storage guide is your next stop.
Download stuck at 0% and never starts
This is network or server, not your Mac. Check Apple's System Status page, toggle Wi-Fi, disconnect any VPN, and try again — ideally on a wired connection. If the graphical Software Update won't budge, run sudo softwareupdate -i -a from Terminal for clearer error output, or fetch the full installer with softwareupdate --fetch-full-installer.
FAQ
Is it safe to force restart my Mac during a stuck update?
Only after you've given it real time. During the boot-phase install, a macOS update can legitimately take 30 to 90 minutes with the progress bar appearing frozen. Force-restarting too early is the most common way to corrupt an otherwise fine install. Wait at least an hour with no activity before holding the power button for 10 seconds.
Will reinstalling macOS from Recovery delete my files?
No. Reinstalling macOS from Recovery is non-destructive: it reapplies the operating system over your existing installation while leaving your documents, apps, and settings untouched. It's one of the safest and most effective fixes for a failed update. Erasing the disk is a completely separate action that does delete data and requires a backup first.
How much free space does a macOS update actually need?
Far more than the download size suggests. Because the installer expands, creates a rollback snapshot, and stages the new system volume, a major update can need roughly 20 to 45GB of temporary free space beyond the update itself. Aim for at least 40GB free before installing a significant update to avoid space-related failures.
Do I need to reset NVRAM or SMC on my Apple Silicon Mac?
No. Apple Silicon Macs (M1 and later) have no NVRAM reset shortcut and no SMC to reset — those concepts belong to Intel Macs. Ignore any guide telling you to press those key combinations; they do nothing on Apple Silicon. Your equivalent is a full 30-second shutdown, and you reach Recovery by holding the power button.
The update failed on release day. Should I keep retrying?
Not aggressively. On a major release day like the Tahoe 26.5.2 rollout or the macOS 27 beta launch, Apple's servers are overloaded and many failures are server-side. Check Apple's System Status page, and if the update service is strained, simply wait a few hours and try again. Patience often succeeds where repeated immediate retries fail.
Why does my Mac say there's not enough space when Storage shows plenty free?
Because macOS counts Time Machine local snapshots and purgeable caches as "available," but the installer can't always use that space instantly. Verify real free space with diskutil info / in Terminal, purge local snapshots with tmutil thinlocalsnapshots, and empty the Trash. The honest number from diskutil is what the installer respects.
Conclusion
A stuck or failed macOS update looks alarming, but it follows predictable patterns, and it responds to a predictable ladder of fixes. Start at the top and only descend as far as you need to: give it patience and check Apple's servers, plug into power and verify your network, free up a real 40GB of space (local snapshots included), delete and cleanly re-download the installer, restart with the correct reset for your architecture, try Safe Mode, and — if it's stuck at boot — use Recovery to run First Aid and perform a non-destructive reinstall. Erasing and DFU revive sit at the very bottom for a reason; you'll almost never need them.
The single most important habit to take away is this: keep a current backup so that no failed update can ever cost you your data, and know that a Recovery reinstall keeps your files intact. If you haven't set up a solid backup routine yet, do it before your next update using our Mac backup strategy guide. With a backup in place and this ladder bookmarked, the next time an update stalls you can approach it calmly, work the steps in order, and get back to a Mac that's running the latest, most secure version of macOS.